Basic HTML Version


www.scrapbookandcards.com
23
the 3 t’s
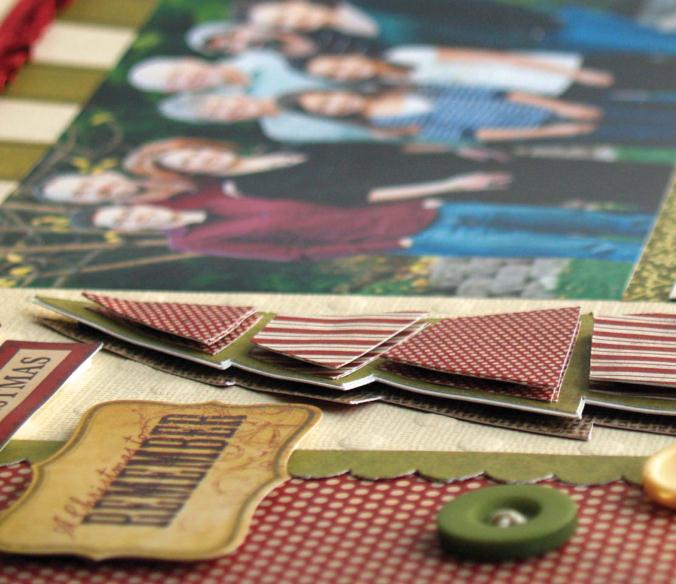
An electronic die cutter will make quick work out
of fussing cutting paper pieces, leaving you to
the fun of assembling them into a dimensional
embellishment, as Laura created here. “My funky,
little Christmas tree has six layers of patterned
paper!” Laura admitted. “I alternated between dry
adhesive and foam adhesive when I put the tree
together, offsetting the bottom layer to create a
paper shadow.”
Laura also layered her word stickers and two of
her banners with foam adhesive, and repeated the
offsetting paper shadow effect on her title.
Laura carried a dimensional theme
throughout her page by adding a
length of red lace trim and hand-
sewn buttons.
layer up the
die cuts
3D tips from
laura
Using metal dies or an electronic die cutter
gives you the opportunity to cut out multiple
pieces of the same shape from different
patterned papers. Then you can cut the pieces
apart and reassemble the shape using a variety
of patterns and colours.
When using metal dies, trace around the
interior edge of the die opening with a pencil
before removing the shape. The pencil line will
give you a perfect path for sewing.
Don’t throw away the negative piece leftover
after die cutting. Upcycle it to make a brand
new embellishment or title for another project.
home for the holiday
BY LAURA VEGAS
supplies
CARDSTOCK,
Core’dinations;
PATTERNED PAPER, SHAPE STICKERS, PAGE PEBBLE,
Glitz;
DIE CUTTER,
Silhouette;
BUTTONS,
BasicGrey, Fancy Pants;
TRIM,
Making Memories;
BORDER PUNCH,
Stampin’ Up!;
ADHESIVE,
Xyron, American Crafts