Basic HTML Version


www.scrapbookandcards.com
43
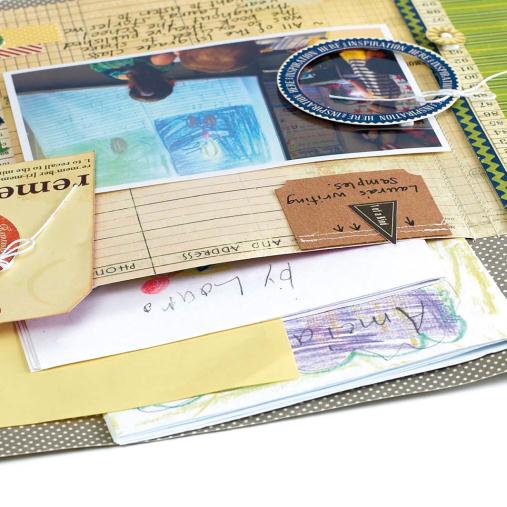
the 3 i’s
You will see that Kimber’s
pocket
does not
go
edge to
edge
across her
page. She made
it
a bit
narrower,
allowing
her
to further
embellish
the
left
side
of
the page.
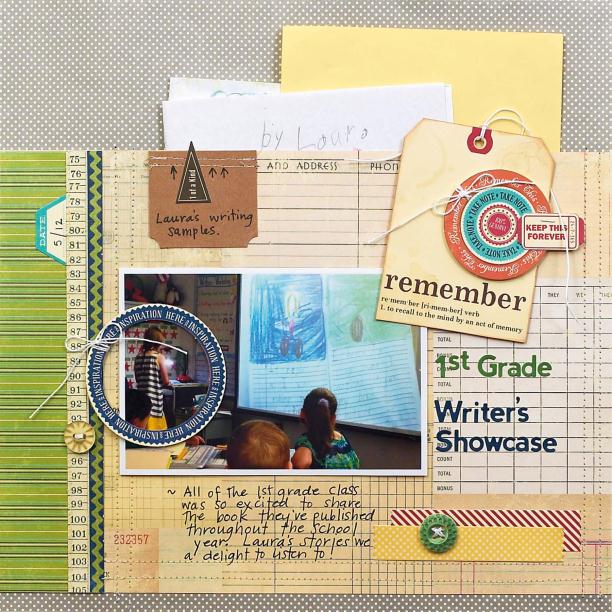
1st grade writer’s showcase
BY KIMBER MCGRAY
supplies
PATTERNED PAPER, DIE CUTS, CARDSTOCK, STICKERS,
Jillibean Soup;
INK,
Colorbox;
ADHESIVE,
Xyron, Scrapbook Adhesives
school art & projects
In just one school year, your children will
bring home a mountain of artwork,
projects, activity sheets, colouring
pages—the list goes on and on! You don’t
want to dampen the spirit of your artistic
prodigy by throwing them away, and they
won’t do much good stuffed away in a
box. Here’s a great solution to get them
onto your pages.
Kimber’s 1st grade daughter spent a
school year contributing to a project
where the entire class published a book.
Laura brought home many of her writing
samples and Kimber wanted to include
them on a page. By creating a machine-
sewn pocket (how-to below), she was able
to tuck several of her daughter’s folded
writing samples into the pouch. Not only
are they safely stored, but they are easy
to remove and read, too.
Kimber noted that to prevent your paper
memorabilia from yellowing, spray them
first with archival mist.
To create a three-sided pocket like Kimber’s, trim a piece of
patterned paper to the height and width you’d like the pocket
to be. Use a small amount of adhesive on the very edge of
the left, right and bottom edges, and attach it to your page.
Machine-sew over the same three sides to secure. In Kimber’s
example, she sewed double lines, 1/4” apart, for added interest.
Just like Marla’s clear pocket, Kimber’s large, roomy pocket can
hold maps from a vacation, additional photos, school programs,
or just about anything that can be folded flat!