Basic HTML Version


34
scrapbook & cards today
•
fall 2012
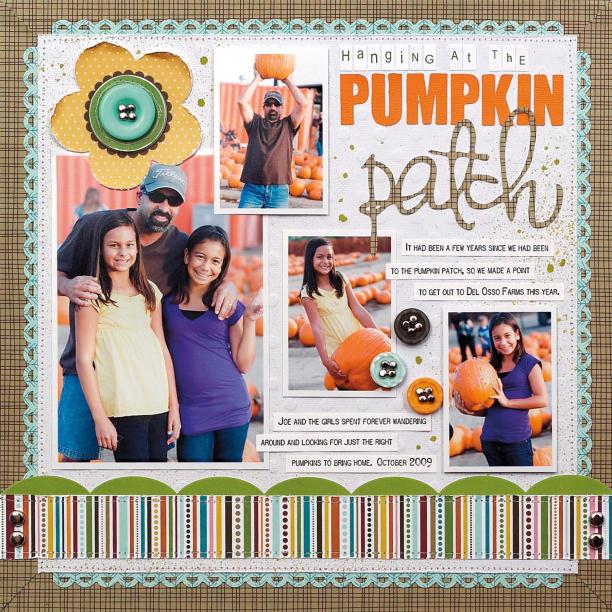
For my
expert
layout, I started by mitering strips
of brown patterned paper to create a base page.
I misted a piece of white embossed cardstock
with green ink spray, framed it with scalloped
strips and sewed it to the center of the page. I
scattered individual photos for a more carefree
look, applying two of them with foam dots. Using
mini letter stickers, I added a subtitle to my die
cut title. I distressed the petals of the flower
sticker before attaching it with pop dots. Finally,
to spruce up the buttons, I added silver mini brads
to the button holes for a fun, whimsical look.
You can see more of Laura’s work by visiting
her blog at lauravegas.typepad.com/
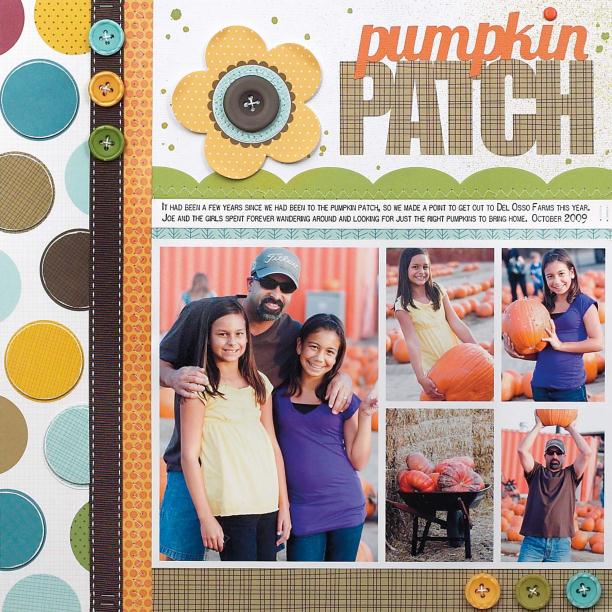
For my
detailed
layout, I created another photo
collage and placed it in the lower, right corner
of my page. I added an orange strip of patterned
paper to the left side of the photos and zig zag
stitched it in place. After covering chipboard
circles with cardstock, I applied them over several
of the large polka dots on the left side for added
dimension. A piece of chocolate ribbon, attached
with staples, divides the polka dot strip from the
orange strip. After spray misting the white title
area, I finished off the page with a die cut title, a
layered paper flower and threaded buttons.
pumpkin patch
supplies
CARDSTOCK,
American Crafts;
PATTERNED PAPER,
SHAPE STICKERS,
Bella Blvd;
RIBBON,
Pebbles;
BUTTONS,
Fancy
Pants;
BRAD,
Little Yellow Bicycle;
SPRAY INK,
Studio Calico;
TINY
ATTACHER,
Tim Holtz;
PHOTO COLLAGE TEMPLATE,
Kerri Bradford
Studio;
ADHESIVE,
Xyron
hanging at the pumpkin patch
supplies
CARDSTOCK,
American Crafts;
PATTERNED PAPER,
SHAPE STICKERS,
Bella Blvd;
BUTTONS,
Fancy Pants;
BRAD,
Making Memories;
SPRAY INK,
Studio Calico;
PAPER PUNCH,
Fiskars;
DIE CUTTER,
Silhouette;
ADHESIVE,
Xyron, American
Crafts
the 3 t’s