Feast your eyes on these gorgeous holiday projects. From gifts to favours, and from home decor to festive ornaments, these projects feature a fresh, seasonal colour palette and lots of glittery sparkle.
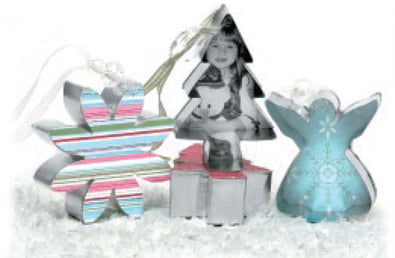
holiday cookie cutter ornaments
by Tracy Tigert, Markham, ON
instructions:
- Apply a thin layer of clear glue to the rim of a metal ornament; lay on top of patterned paper; let dry; cut out with an Exacto knife.
- Repeat with other ornaments and photos if desired.
- Punch a small hole near the top of the paper/photo; thread ribbon through hole; attach beads if desired and knot.
- Hang on tree or attach to presents as a festive gift-topper.
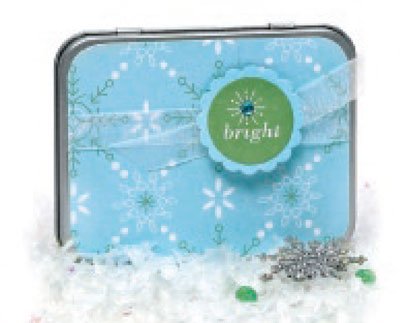
bright tin
by Christine Hill, Stouffville, ON
instructions:
- Measure tin on both the inside and the outside (inside will be slightly smaller).
- Cut paper to size (approx. .25 of an inch smaller on all sides).
- Round corners; adhere paper to tin using double sided tape.
- Attach embellishments; fill tin with goodies of choice.
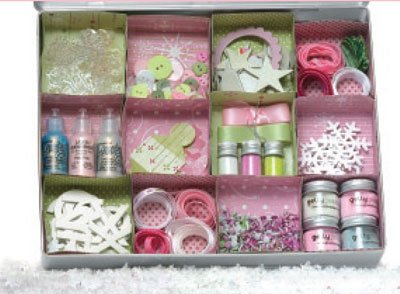
Sparkle tin
by Christine Hill, Stouffville, ON
instructions for the lid:
- Measure the outside of the tin.
- Cut paper to size (approximately .25 of an inch smaller on all sides).
- Round corners; adhere paper to tin using double sided tape.
- Attach embellishments.
instructions for the inside:
- Measure the width, length and height of the inside base of the tin.
- Divide the width by 4 and the length by 3; this forms the size of
the base of your squares. - Add slightly less than 2 times the height of the tin to both the width and the length of each square and cut 12 squares in a variety of patterned papers.
- Score each box using the measurements calculated above.
- Cut one of the scored lines (either width or length) in the small
squares that have formed on each corner. - Fold up box and adhere flaps to the side of the box.
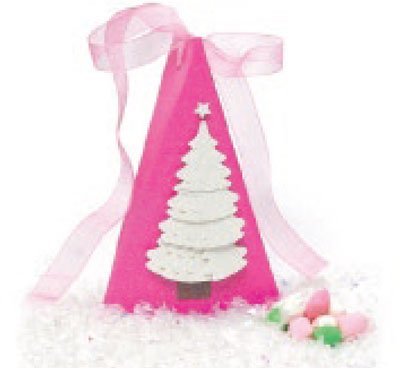
3-D tag
by Virginia Nebel, Mississauga, ON
instructions:
- Fold a piece of 4 x 12 cardstock in half; open and lay flat.
- Score lines from the fold line to centre point at both top
and bottom. - Fold flaps inward; flip up bottom half and adhere flaps
to each other to form the triangle box. - Glue tag face embellishments on front.
- Punch hole at top for ribbon.
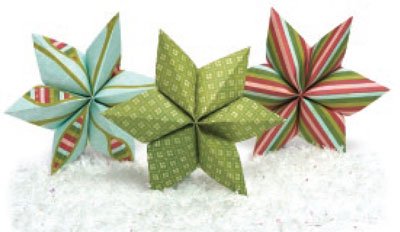
six-pointed paper stars
by Lori Tyndall, Markham, ON
instructions:
Please follow the following link for the complete instructions on making these great paper stars: paperpleasing.typepad.com/my_weblog/2007/10/starornament.html
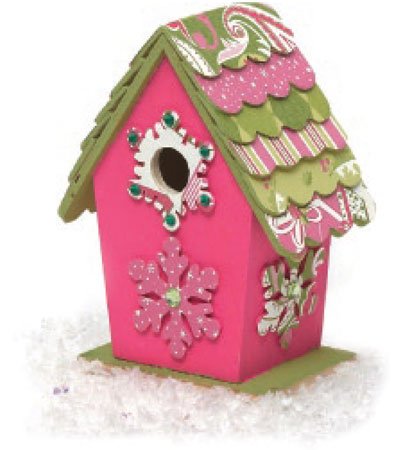
birdhouse
by Charity Hassel, Jacksonville, FL
instructions:
- Paint front, back, and sides of birdhouse (including snowflakes) a bright raspberry and let dry.
- Tape off pink areas of birdhouse. Paint roof and base green and let dry.
- Trace shingles using tracing paper; cut out. Use as templates to cut patterned papers; adhere patterned paper to shingles on birdhouse.
- Trace snowflakes onto patterned paper; cut out; adhere snowflakes on birdhouse; adhere rhinestones to snowflakes.
tips:
- Apply several thin coats of decoupage over completed birdhouse.
- Lay out patterned paper in desired order before cutting.
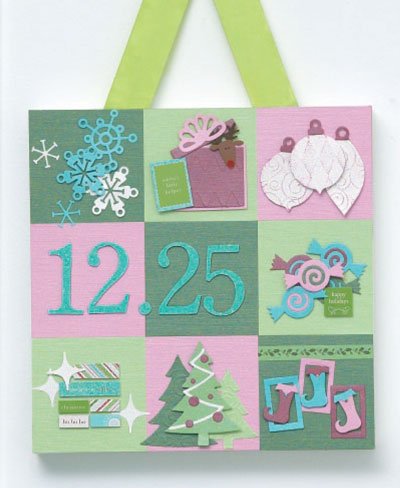
Holiday Storyboard
by Virginia Nebel, Mississauga, ON
instructions:
- Cut twelve 4 x 4 squares; use 3 different colours.
- Adhere squares onto a 12 x 12 piece of cardboard in a pleasing checkerboard pattern.
- Group your themed embellishments on each square. Use foam dots to layer the embellishments.
- Use Velcro and attach the storyboard to the canvas (this makes it easier to change out future storyboards).
- Attach a wide sash ribbon at the top.
- After you have displayed your storyboard, you can easily detach it from the canvas and keep it in your scrapbook!

