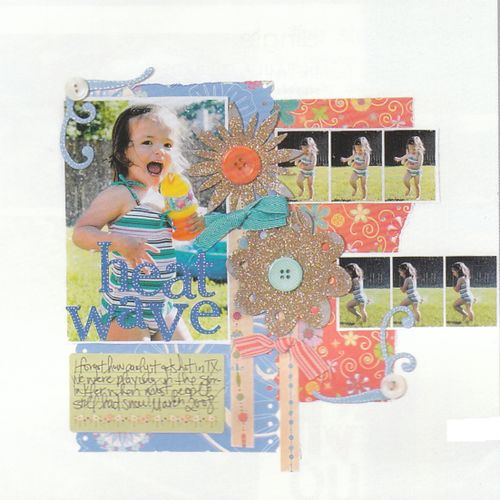
Good morning, everyone! Have we got a treat for you! Today, Stephanie Howell of Waco, Texas is here to share a cool technique for adding vintage glass glitter to chipboard pieces. Stephanie used this same technique on her “heat wave” layout found in our reader’s gallery of the summer issue of Scrapbook & Cards Today. We knew that such a beautiful layout, with such a fabulous technique, just begged to be explained here in further detail.
Here she is with her tutorial:
1. Gather glass glitter, glitter glue, and dimensional adhesive.

2. Find a piece of raw chipboard (not covered or slick on the surface).
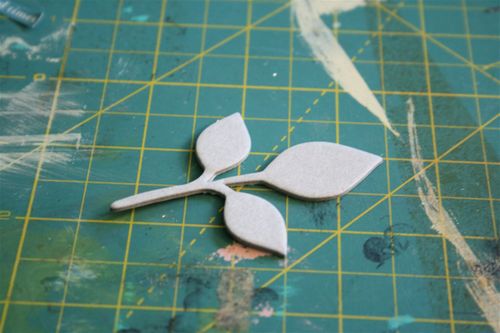
3. Brush glitter glue onto chipboard with foam brush.

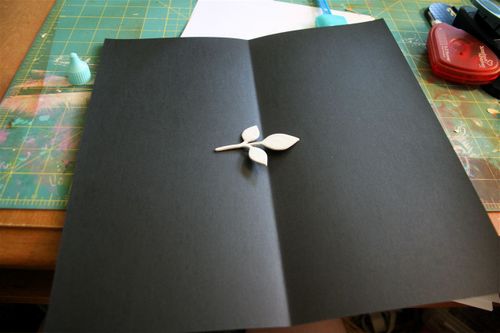
4. Place shape on piece of cardstock. Fold the cardstock down the middle. This will help you gather the glitter and pour it back into the container.
5. Generously cover shape with glitter.
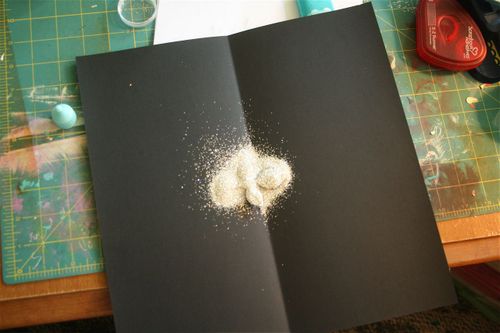
6. Tap excess glitter off of shape. Fold paper in half, forming a “funnel” of sorts. Pour glitter back in container.
7. Cover glittered shape in dimensional adhesive. This gives the glitter a “top coat”.
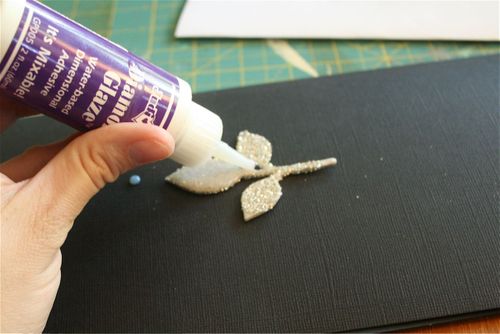
8. Allow shape to dry.
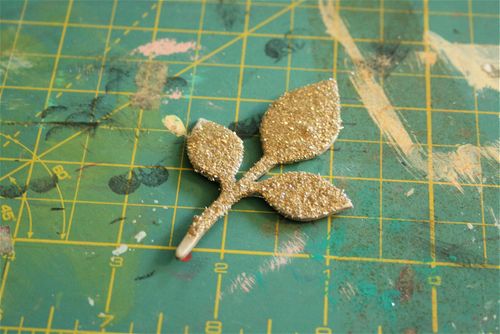
Here is an alternate way to get a similar look:
1. Put dimensional adhesive on raw chipboard FIRST.
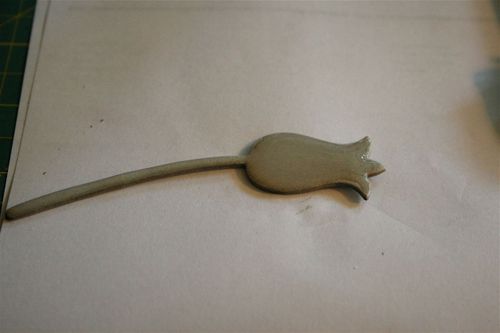
2. Cover shape in glitter.
3. Tap off excess glitter and allow it to dry.
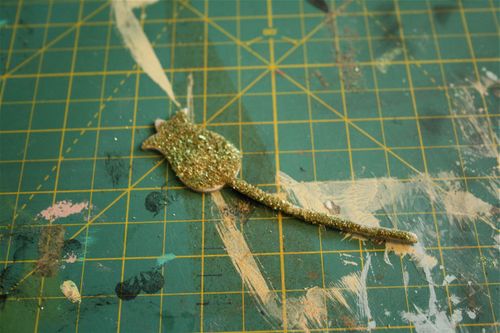
And here is an image of Stephanie’s “heat wave” layout to see how she incorporated similarly glittered chipboard pieces on a page.


