Let’s ring in the New Year of happy crafting with a fun and easy calendar project. I used Maya Road calendar sheers (they are the actual 2010 months) and photos from last year. So you get the best of both worlds, the photos are a flashback to fond memories lived and the calendar months are a reminder to enjoy how life unfolds ahead. I kept the design very simple and linear. I added dimension by randomly elevating different sections of the grid.
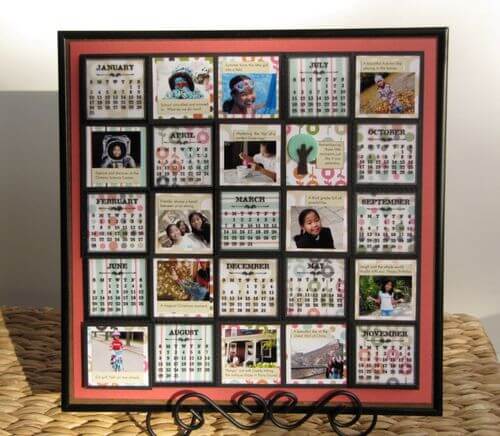
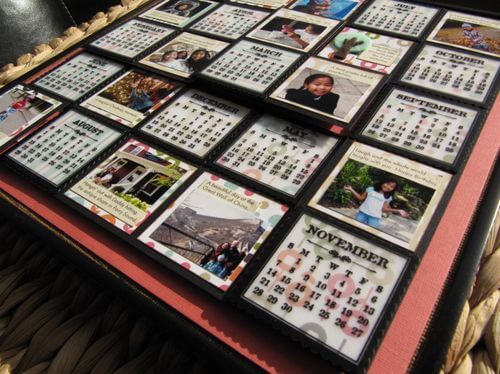
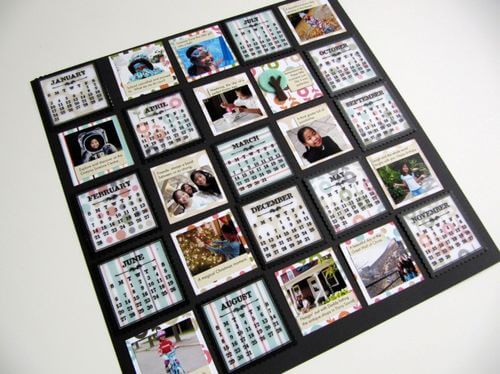
The calendar is composed of a 5 x 5 grid. Each square measures 2 x 2 inches. In my example, I decided to place the months (and corresponding monthly photo) randomly throughout the grid pattern. Do not glue your squares down yet.
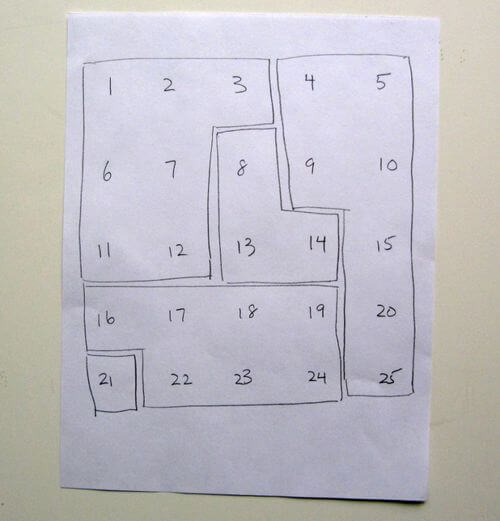
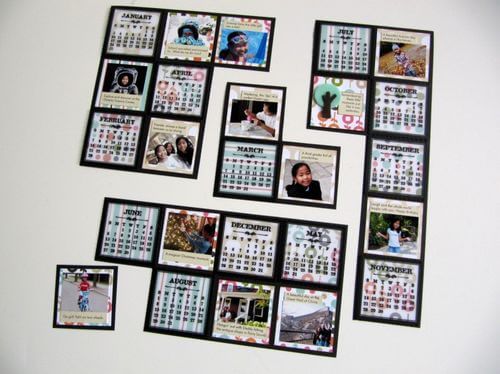
On a sheet of paper, write the numbers 1 to 25 down and sketch how you would like to create your sections. Take another piece of cardstock, transfer the squares according to the sections in your sketch, glue the squares down and trim around each section.
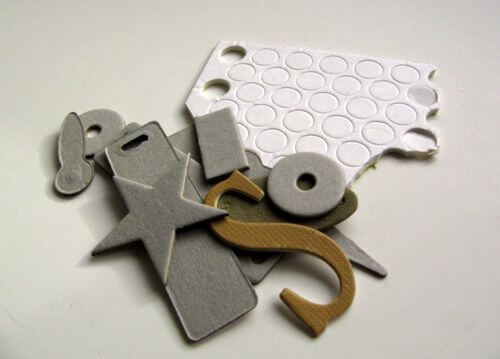
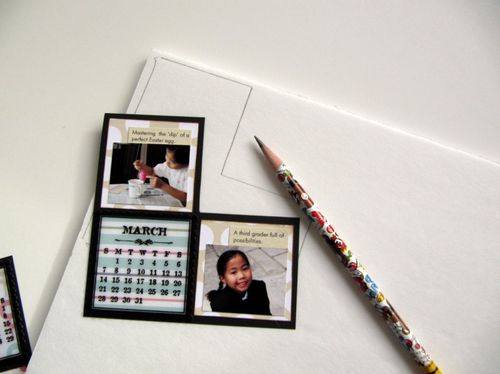
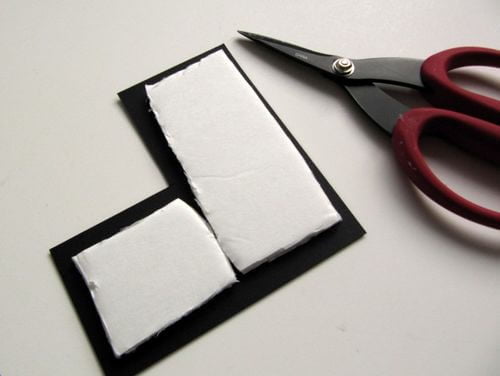
To create various height elevations in the sections, I used a combination of foam core, pop up dots, and chipboard. I really like using foam core because it is lightweight and you get a nice evenly raised coverage under your paper. Use leftover chipboard shapes/alphas under paper mats for added height too- great way to use up your stash!
The last step is to adhere the sections back together again on another piece of cardstock. I took the glass out of a 12 x 12 frame and mounted the calendar to the backer board. This calendar could hang on a wall or be displayed on a desk.
supplies: Maya Road calendar sheers, American Crafts pattern paper, Bazzill cardstock
Article by: Virginia Nebel

